Choosing the right alternator is crucial for maintaining your tractor's battery and ensuring reliable operation. This guide simplifies the process of selecting, installing, and maintaining a one-wire alternator, a cost-effective and straightforward solution for many tractors. We'll cover everything from determining the correct amperage to troubleshooting common problems.
Understanding One-Wire Alternators and Their Benefits
A one-wire alternator simplifies the charging system by requiring only a single wire connection to the battery's positive terminal. This design eliminates the need for complex wiring harnesses, making installation easier and reducing the risk of electrical issues. This simplicity makes it an attractive option for older tractors or those with more basic electrical systems. But remember, this simplicity means it relies on the engine's running speed for optimal charging.
Determining the Correct Amperage for Your Tractor
The alternator's amperage (amps or A) rating indicates its power output. A higher amperage rating means a greater capacity to charge your battery and power accessories. Choosing the right amperage is critical; underpowering your alternator leads to a constantly drained battery, while overdoing it might be unnecessary and wasteful. How much amperage do you need? It depends entirely on your tractor's electrical demands.
Don't underestimate the impact of accessories. A simple tractor with only headlights needs far less power than a machine loaded with GPS guidance, winches, and multiple work lights. If you are unsure, consult your tractor's owner's manual for its specific requirements. They often provide the amperage requirements for the alternator system.
Here's a general guideline:
| Tractor Size | Typical Amperage Range (Amps) | Notes |
|---|---|---|
| Small (Under 40 HP) | 40-60 | Suitable for basic lighting and essential electrical needs. |
| Medium (40-80 HP) | 60-80 | Handles additional accessories like a radio or extra work lights. |
| Large (Over 80 HP) | 80-120 | Essential for power-hungry accessories like winches and heavy-duty equipment. |
This is just a starting point. Always prioritize your tractor's owner's manual for the most accurate recommendations.
Cost-Effective Options: Remanufactured Alternators
While new, original equipment manufacturer (OEM) alternators are reliable, remanufactured units offer a significantly more affordable alternative without sacrificing performance in most cases. Reputable remanufacturers guarantee quality comparable to new units. They often rebuild alternators to high specifications, and you can save considerable costs by exploring these options. Check reviews before purchasing any remanufactured unit.
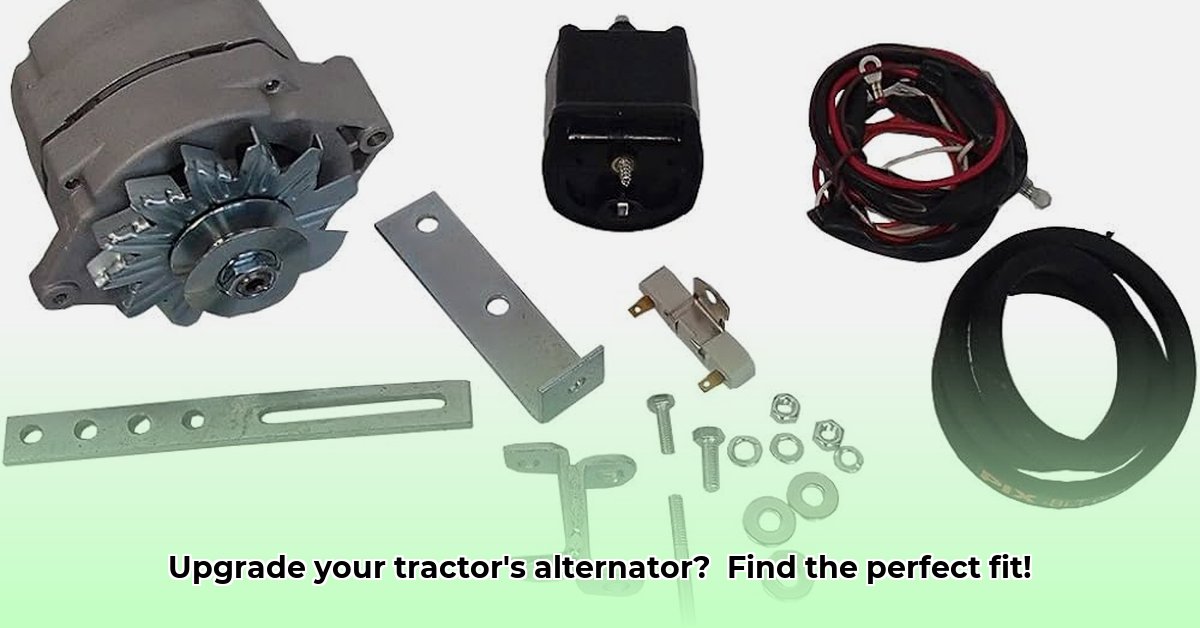
Installing Your One-Wire Alternator: A Step-by-Step Guide
Safety First: Always disconnect the tractor's negative (-) battery terminal before beginning any electrical work.
Tools Needed: Wrenches (appropriate sizes for your alternator), sockets, possibly a pulley puller (depending on the alternator's design).
Step-by-Step Installation:
- Removal: Carefully remove the old alternator, taking photos or making notes of its position, belt routing, and bracket attachments.
- Mounting: Securely install the new alternator in the same location. Ensure the mounting bolts are correctly tightened.
- Wiring: Connect the single wire from the alternator to the positive (+) terminal of your battery. This is the only wire.
- Belt Installation: Route the drive belt precisely. Incorrect routing can cause alternator failure. Ensure proper tension.
- Testing: Reconnect the negative (-) terminal. Start the tractor. Use a multimeter to check the battery voltage. 13.5-14.5V indicates proper charging. If the voltage is significantly lower, troubleshoot the system.
Important Note: If you're uncomfortable with any step, consult a qualified mechanic.
Troubleshooting and Maintenance: Keeping Your Alternator Running Smoothly
Even with proper installation, issues can occur.
Common Problems and Solutions:
- No Charging: Check battery voltage; low voltage suggests an alternator, wiring, or battery problem. Inspect all connections for tightness and corrosion. A broken drive belt is another possibility.
- Intermittent Charging: This might indicate a failing alternator, loose wiring, or internal component problems. Use a multimeter to pinpoint the issue.
- Overcharging: Excessive voltage (over 15V) could damage your battery. Investigate wiring issues and check the voltage regulator.
Regular Maintenance: Inspect the drive belt regularly for wear, and ensure the alternator is securely mounted and clean. Keeping the alternator free of dirt and debris helps it last longer.
Conclusion
Choosing the right one-wire alternator significantly boosts your tractor's reliability and reduces long-term costs. Carefully determine your tractor's electrical needs to select accordingly, knowing that remanufactured alternators offer a cost-effective solution. While installation is relatively simple, prioritize safety, and remember that regular maintenance is key to ensuring a long operational lifespan.